Goals
- Give Mr. Ramos the quality he wants
- Give Mr. Ramos the quality he needs
- Give Mr. Ramos the quality he needs
The 8-Footer Bridge Project
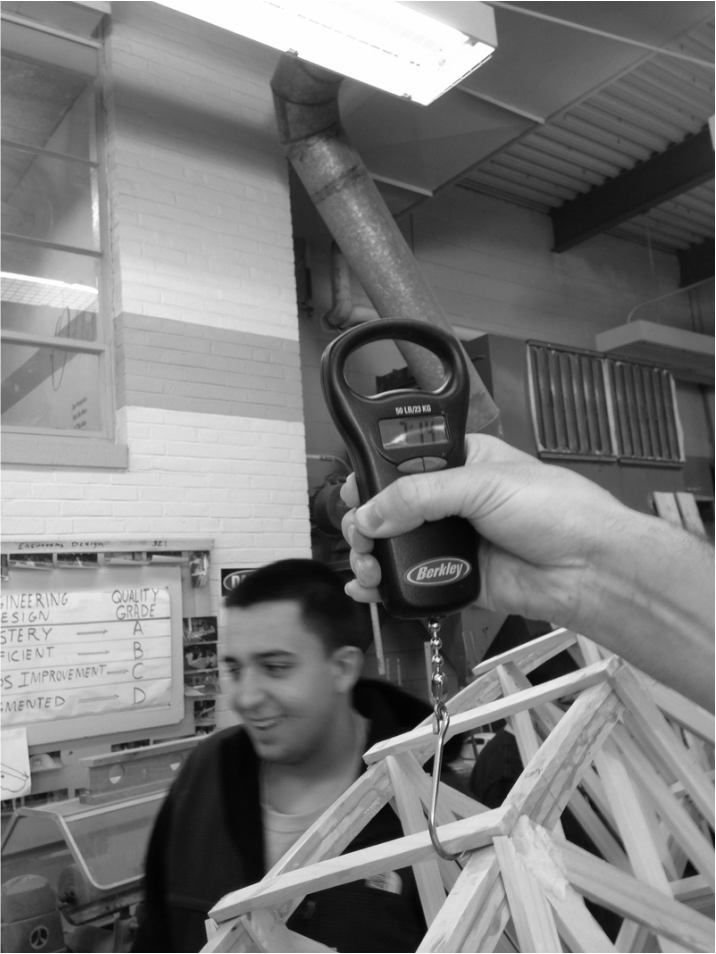
(Know Known As The 1000 Pound Challenge, Due To Us) The bridge project was a huge success for our group. We stayed under the weight limit of 10 lbs, coming in at exactly 8 lbs, and managed to hold a whopping 1250 lbs and 8-9 people on this bridge! We were only the second group to have overcome all four team members, but not just 4, 6! Even with the glue shortage and the effort of trying to find pine without knots or holes in it, our team managed to work together very well. We ripped a lot of wood on the table saw, A LOT, got a lot of clothes dirty and full of glue, but in the end, first place was all worth it.
Engineering Design Process
1. Goal- To create a 8-foot bridge that supports your team.
2. Research- We researched multiple different designs that we felt would best support our weight and perform the best.
3. Develop- We developed different designs that would act good or well depending on the shape. We created arch designs as well as rectangular designs and triangular-like designs.
4. Choose- We chose the design we believed would perform best with 500 or so pounds placed on it.
5. Prototype- We developed a bridge similar to the final product but at a much smaller size and scale. This was just to get an idea of what we would have to do in the future.
6. Test- We had to develop the final product, and then we suspended it along 2 equal height benches 8 feet apart, and had each team mate hang from it upside down to test its power. It worked, but we knew what we needed to change and redevelop to make it work its best.
7. Communicate- We worked together to add the final parts, and we made sure every member of the team did their part.
8. Redesign- After the successful test, we found that we had competition, so we redesigned the bridge so it could hold one thousand pounds
#winning
5-Day Feud with Dust
For 5 days in the month of April, I decided to help out Mr. Ramos and the janitors by sweeping up the Engineering design lab. This was very productive as I measured 2 cubic feet of dust swept up.
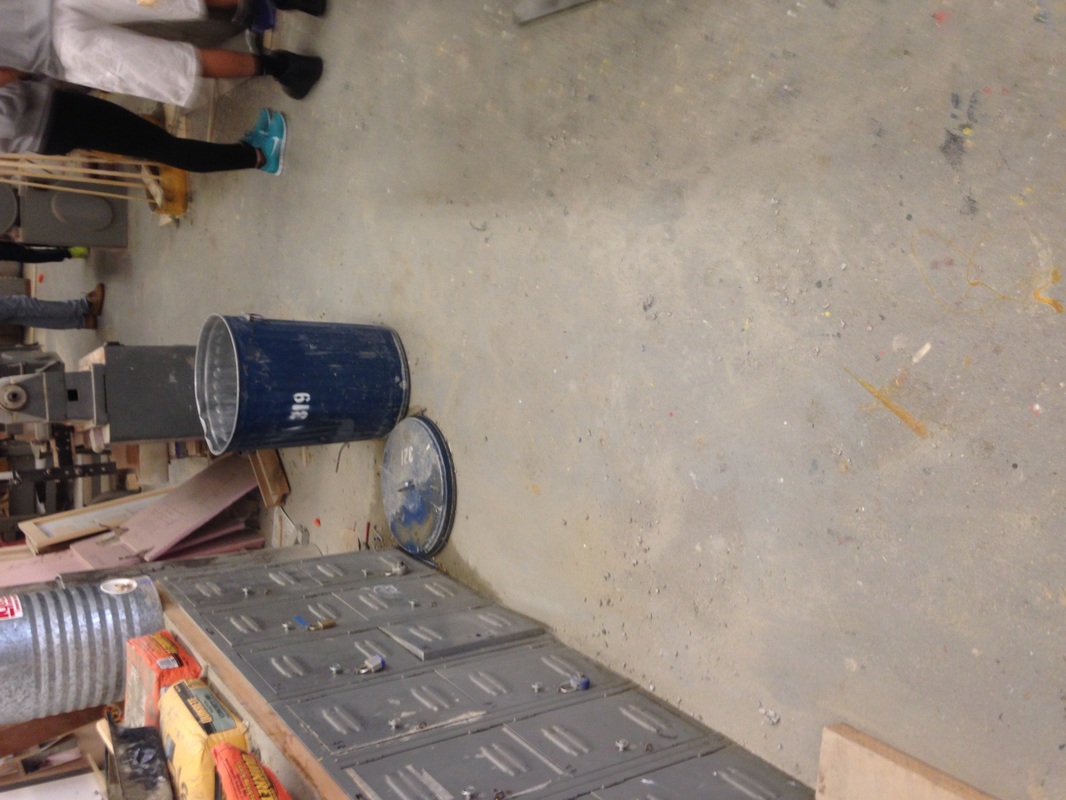
This is a picture of what the concrete laying area looked like before i swept it up one day. Dirty, unsanitary, and unhealthy. Unfortunately, I do not have an after picture of this area, but it was spotless and clean after.
Chemistry Quarrel
The Problem: Iron rusts in water
The Solution: No Solution Yet!
The Experiment: To see if different temperatures of water affect rust and oxidization processes/To see if different submerged objects will affect oxidization process.
Period: 4 classes
The process of Oxidization is as follows.
When cast iron is in contact with water, oxygen, other strong oxidants, or acids, it rusts. If salt is present, for example in seawater or salt spray, the iron tends to rust more quickly, as a result of electrochemical reactions. Iron metal is relatively unaffected by pure water or by dry oxygen. As with other metals, like aluminium, a tightly adhering oxide coating, a passivation layer, protects the bulk iron from further oxidation. The conversion of the passivating ferrous oxide layer to rust results from the combined action of two agents, usually oxygen and water.
Other degrading solutions are sulfur dioxide in water and carbon dioxide in water. Under these corrosive conditions, iron hydroxide species are formed. Unlike ferrous oxides, the hydroxides do not adhere to the bulk metal. As they form and flake off from the surface, fresh iron is exposed, and the corrosion process continues until either all of the iron is consumed or all of the oxygen, water, carbon dioxide, or sulfur dioxide in the system are removed or consumed.
I did research on the oxidization process and methods to stop rusting from happening. I drew a prototype drawing describing the experiment visuals and then cleared a work space for the experiment. I gathered my materials, and started testing. The metal I created was submerged in the water for a period of 2 classes. The results were that Hot water does speed up Rusting because when the water is hotter, the particles move faster, spreading out and attaching to the iron atoms.
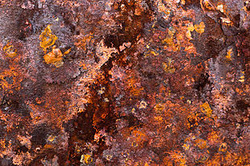
An example of rust on iron
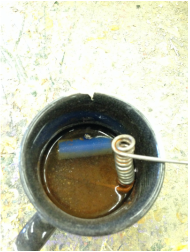
As you can see, the bottom of the iron piece rusted, causing the water to turn a Mars red color. This is the experiment involving the small silver balls, implemented into spheres after being smelted and instantly submerged into room temperature water.
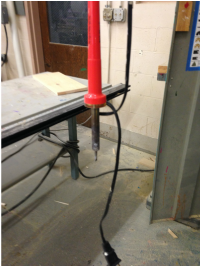
This is called a soldering iron. It heats up to temperatures well above 800 degrees. It puts out 60 watts. I used this to heat up the water to test the iron for rusting in hot water.
"Research" Project"
Also referred to as "China can't know" or "Project X", this undercover operation tested the density of materials when compressed.
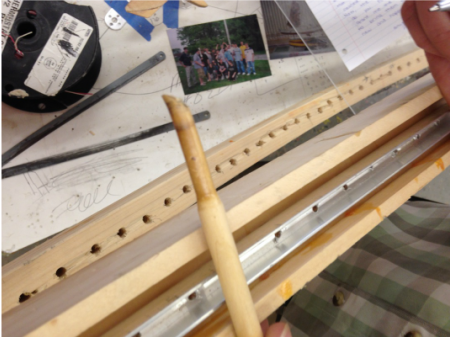
As you can see according to this picture, the top part of the cylindrical rod is the "treated" part, and the bottom part being the untreated part.
The Process
To conduct a test of a cylindrical wooden rod being compressed from all sides simultaneously, I entered a pine rod into a portable drill and set up a piece of wood with a higher density then that of the pine. I drilled a hole in the denser wood with a diameter the same of the rod. I tested it. Nothing but smoke and black wood.
RETEST: New rod, but instead of being drilled into a same size hole, it was drilled into a hole of a less diameter than than of the rod, to compress the rod. It was a success and a new discovery! I asked myself questions like:
Is this how pencils are made?
Is this how bats are made?
Is this treated wood standard on-the-market wood we find in cabinetry?
I did some research, and I learned that this is not how wood products are made. Maybe it could improve the quality and strength of a bat by giving the ball less impact time when hitting the bat?
Its go big or go home
We moved up from small rods. A bat being made in the engineering design lab was a perfect prototype/test product to use, but a split bat was even more perfect, because I didn't need to worry about ruining the good one.
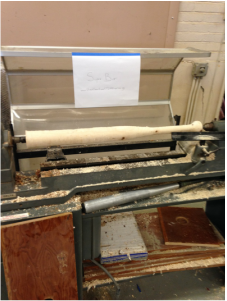
The split Super Bat. Now, I just needed an object to put it through to condense it, just like with the rod. The solution was to get a bigger, denser board to use. So I did. I got extreme quality 1968 wood. Its shown below for you to admire it.
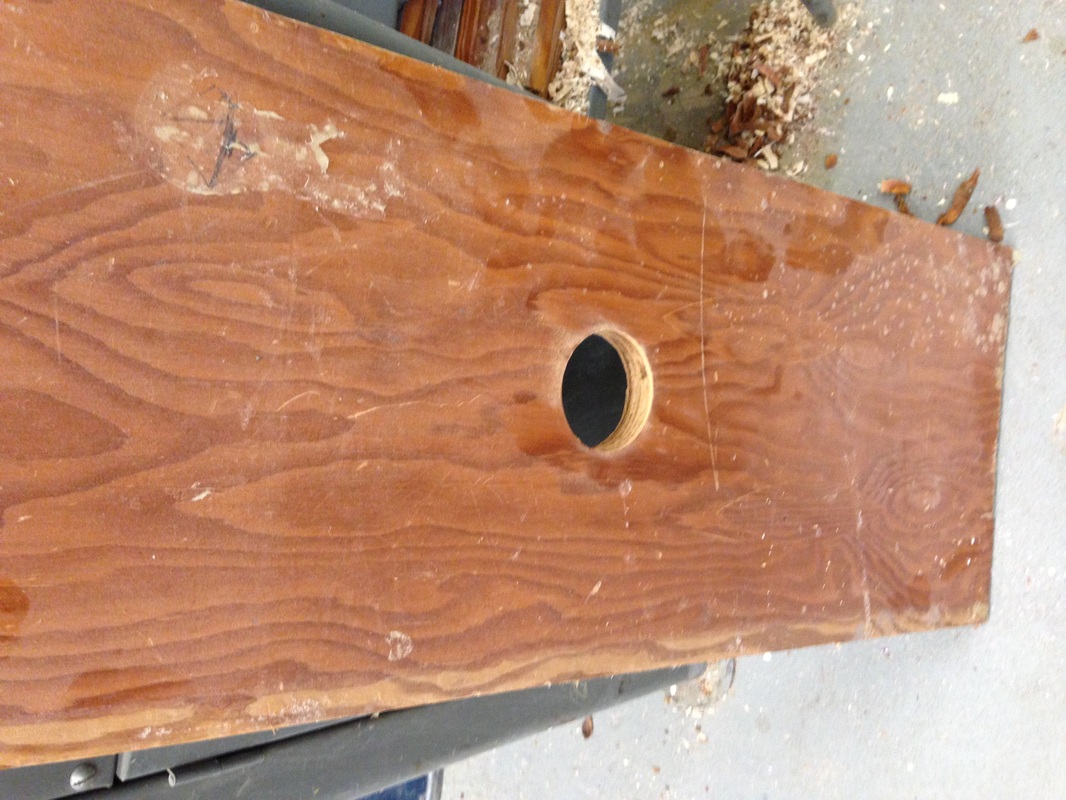
The hole I drilled was 2mm of a shorter diameter than the bat. We tested it, and there was a little result. The diameter of the area of the bat that had been treated was less than that of the untreated part.
RETEST!
I drilled a hole to the right of the existing hole, making a smaller hole for bigger results. It has yet to be tested.
RETEST!
I drilled a hole to the right of the existing hole, making a smaller hole for bigger results. It has yet to be tested.
